
Hello! Thanks for choosing A Party to Remember! Congratulations for hiring one of our great party packages!
As a general rule, we allow a 2hr setup time if we were to be setting up your party package. This allows enough time to unload the vehicle, bring in your hire items, set up tables, backdrops, style and decorate. It also allows enough time to take photos and enjoy the moment.
Good luck,
Charlotte
A PARTY TO REMEMBER
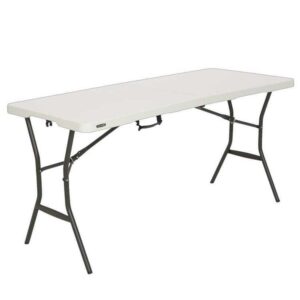
STEP ONE - SET UP YOUR 4ft TABLES
You can find video directions on how to set up the fold-able 4ft tables here.
The tables can be erected at 48 cm, 61 cm or 74 cm.
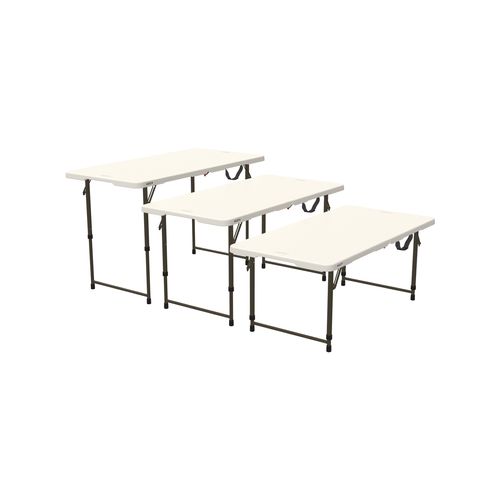
We find the lowest height (48cm) or medium height (61cm) work best with our small stools. Kids usually younger than 7-8 years old.
The highest height (74cm) or medium height (61cm) work best with our larger stools. Kids older than 7-8 years old and adults.
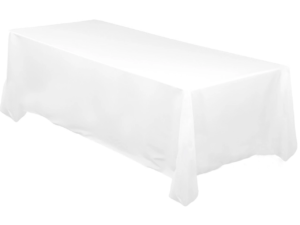
We use 2 x 4ft tables joined together length ways to make a table setting of 10. Place the 320cm table cover over both tables and secure with a weight or tablecloth clip if windy.
Place the supplied table runner down the middle of the table.
Place stools around the table and pop the stool cover on top like a shower cap. We usually put 4 stools down either side and one stool at each end. This makes a table setting for 10 places. If you need to cater for 12, you put 5 stools down either side and one at each end.
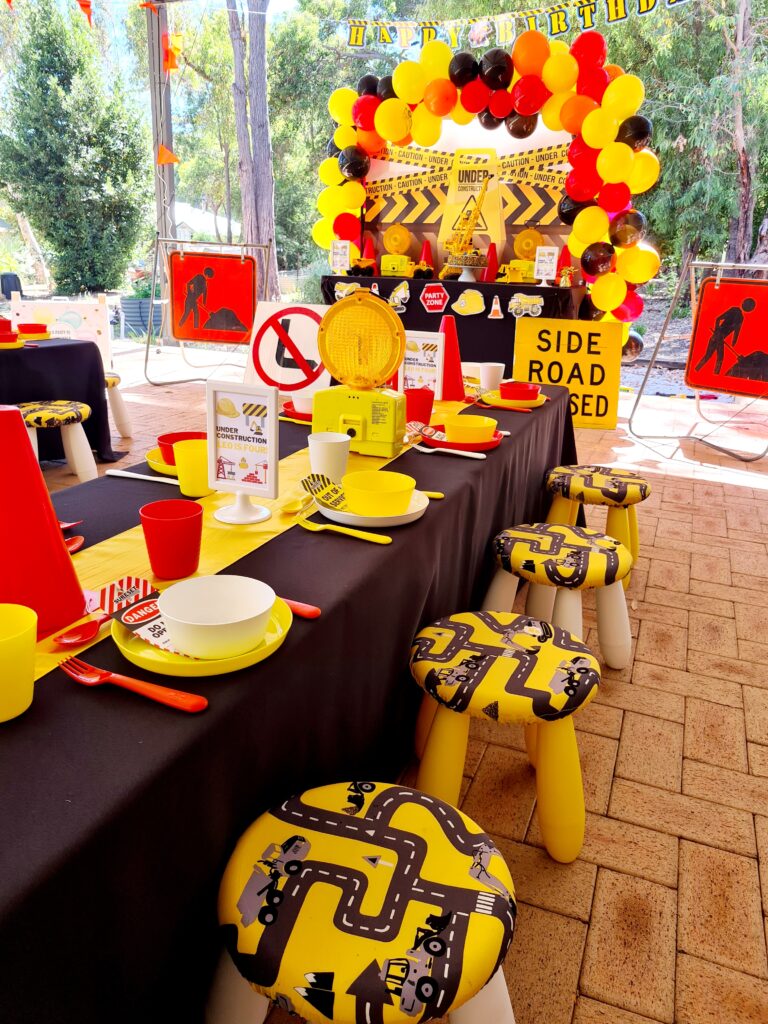
Decorate your table using the decorations provided. You can look at photos on our website (under the chosen theme or gallery section), or on our Instagram or Facebook page.
Add table signs (if supplied).
Add plates, bowls, cups, cutlery.
Important notes:
- Use the red latch to lock the tables in place
- Turn the table the correct way up (feet on the ground) to adjust the table height. Use your feet and press both pins in to move the height up and down.
- Press the latch on the side of the table legs inwards to close the table legs
- Place padding under the table if you are folding on a rough surface. This prevents scratching to the table.
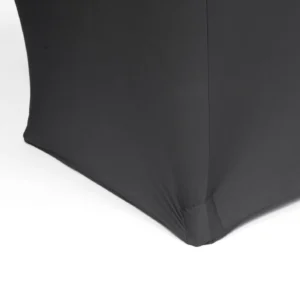
STEP TWO- SETTING UP THE CAKE TABLE
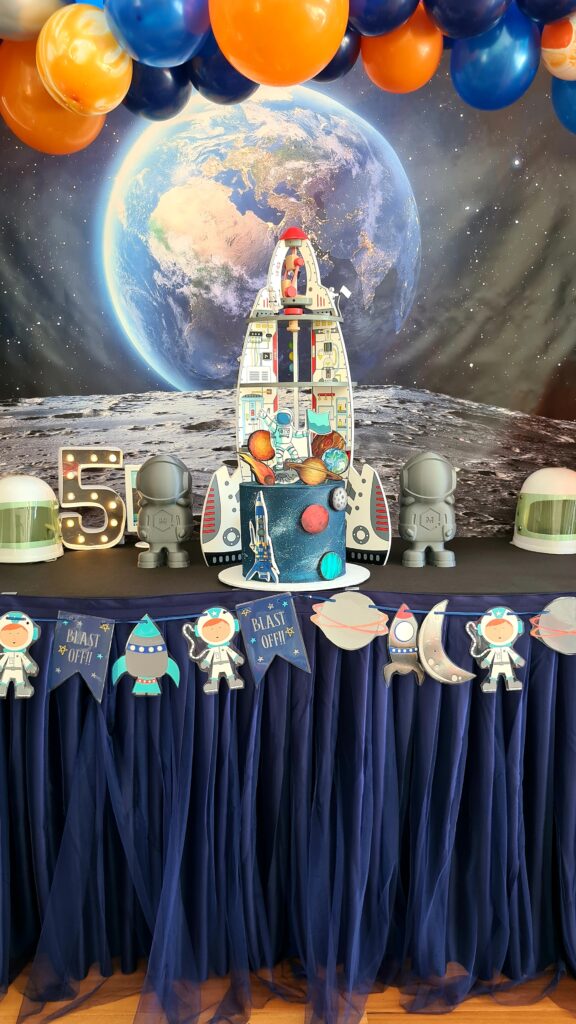
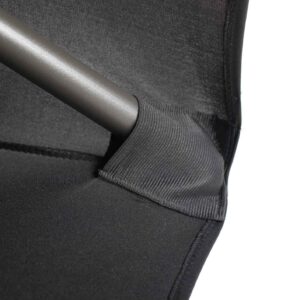
Erect the table and use the lycra table cover to cover the table. Sometimes this fits snug, other times you need to tuck the loose fabric towards the back. Some of our backdrops require a 5ft table and others require a 6ft table. The lycra table covers are designed to be snug on a 6ft table.
The table cover has 4 feet pockets where the feet of the table insert and pull the table cover tight to the ground.
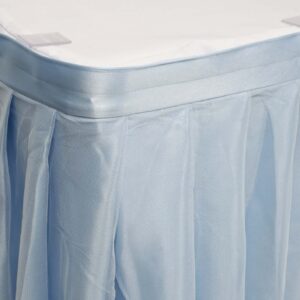
Add the tulle Skirt - if supplied
We stock two different tulle table skirts
- Tulle table skirt (lined) with velcro at the top.
- Tulle Table skirt (individual pieces tied) onto thick elastic (gives tutu fuller effect).
If you have the lined skirt with velcro either attach by pinning it with fabric pins or use the clear velco clips to secure. They slide around the edge of the table (table cover underneath) and the tulle table skirt directly attaches to it.
![]()
If you have the Tulle table skirt with elastic, place this around the whole table. You can secure this with plastic table clips or pins. Fluff the tulle around the front and sides. The tulle looks better if you pull your fingers through it downwards like you are brushing your hair.
Then we usually erect the backdrop frame and place the backdrop behind the cake table before it is decorated. (See directions below.)
Decorate your cake table using the decorations provided. Add table signs (if supplied). Add a cake stand (if supplied). You can look at photos on our website (under the chosen theme or gallery section), on our Instagram or Facebook page.
Important tips:
- Use the red latch underneath the table to lock the table in place
- Make sure the metal clip on the table legs is pushed down to prevent the legs folding.
- Place padding under the table if you are folding on a rough surface. This prevents scratching to the table.
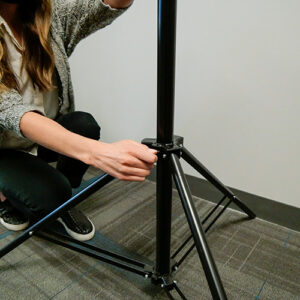
STEP THREE : SETTING UP THE BACKDROP
Every vinyl backdrop has eyelet holes making it easy to hang. You can hang with cable ties, string, rope etc.
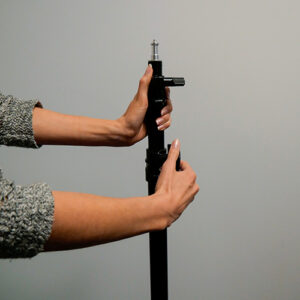
Or you can hire a backdrop frame from us. The backdrop frame consists of two height adjustable legs and a crossbar across the middle. We have a few different types of backdrop stands but essentially they all operate the same. They either have two crossbars that join together or three. Each provides a different size option.
Here is a great tutorial on setting one up.

We supply cable ties to attach the backdrop to the frame. We recommend loosely attaching the ties and getting it into position before tightening.
Loop the cable tie through the eyelet and attach to the frame. We also recommend looping each end over the top screw of the backdrop frame to hold into position so the backdrop doesn't slip. Or you can loop one cable tie through the eyelet and attach to the top crossbar and loop another cable tie through the eyelet and attach it to the vertical backdrop leg stand.
If you are attaching a balloon garland, make sure you cut the cable ties so there is no sharp ends poking out. These may pop your balloons. They can also be visible in photos.
If you are using a backdrop frame outside and the weather is windy, ensure you use sandbags or weights so the frame does not tip over. You can fill old pillowcases with sand, add dog cans, tinned food, bricks etc and then tie to the frame.
STEP FOUR - A PARTY TOP REMEMBER SIGNS
If you have one of our awesome advertising signs, you can use this to show guests where your party is. They have inbuilt weights so they are perfect for putting out on the road verge with balloons attached or no balloons if you would like to be environmentally conscious.
Simply flip them over and don't worry about the creaking noise - they sound like that when they are turned over.
OTHER IMPORTANT TIPS!
- Please don't use sparklers on cakes. These have been known to put burn marks in our tablecloths!
- Don't worry about washing linen. We will do that for you!
Have
A P A R T Y T O R E M E M B E R !